How to Clean Car Seat Upholstery
Key takeaways:
- Know your seat material before you start. Fabric, leather, and faux leather each require a different approach. What works on polyester upholstery can crack or discolor leather. Check your owner's manual and always test any product on a hidden area first.
- Always vacuum before you wet clean. Loose crumbs, pet hair, and debris become messes that are harder to remove when soaked.
- Speed is everything with stains. Fresh spills are far easier to remove than set-in ones. Blot immediately, then apply a powerful solution for targeted spot treatment. The sooner you act, the better your odds of a complete removal.
- Deep cleaning can eliminate odors instead of masking them. Surface sprays and air fresheners cover smells temporarily. Cleaning car seats with tools that extract the odor-causing compounds helps your car smell fresh.
Jump to cleaning instructions
Why clean car seats regularly?
Think about everything your car upholstery endures. Coffee spills, road trip crumbs, muddy soccer cleat stains, and wet dog fur can all come into contact with your car seats and other upholstered pars unlike your couch or dining chairs, because you’re on-the-go, they rarely get the deep cleaning attention they deserve.
The result? Stubborn stains, embedded odors, and fabric or leather that looks older than it actually is. Whether you're dealing with a fresh spill, a set-in stain, or just the general buildup of daily life, this guide walks you through every method for cleaning and refreshing the upholstery in your vehicle, from a quick vacuum refresh to a full deep clean.
Pro tip: Your vehicle's owner manual is the best place to start before cleaning. Some manufacturers use specialty materials or treatments that require specific care – and skipping this step could void your vehicle warranty or cause permanent damage.
Why do car seats get dirty so fast?
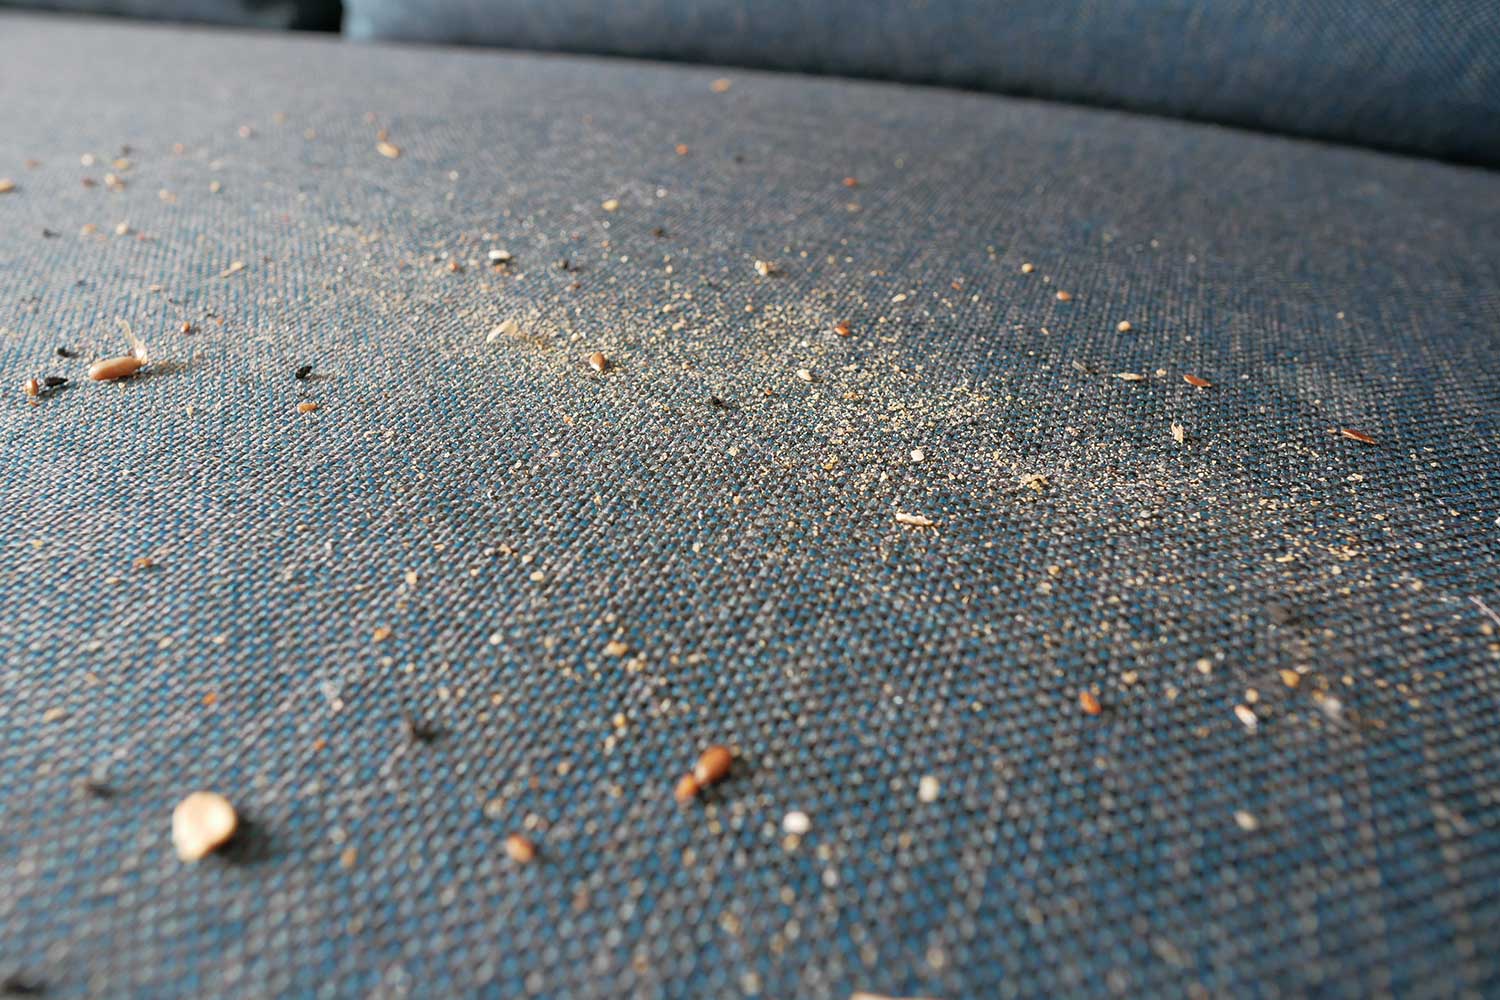
Heat makes things worse. Temperature fluctuations cause fabric fibers to expand and contract, pulling dirt deeper into the material over time. Leather seats also break down – dry out and crack – from ongoing heat exposure. Pet hair weaves itself into upholstery and clings stubbornly to textured fabric – trying to brush it off with your hand doesn’t cut it. Food crumbs work their way into seat seams and crevices. When accidents happen, the mess soaks into padding quickly, creating persistent odors that linger long after the surface looks clean.
What to do before you start
Identify the seat material
Before you reach for any cleaning product, identify what your seats are made of. Most vehicle upholstery is fabric (typically polyester or nylon blend), leather, faux leather (also called leatherette or vinyl), or a combination. What works best on fabric can damage leather, and vice versa. Not sure? Check the vehicle's owner manual or look for a label on the seat itself. Then, follow the cleaning instructions below, which are broken out by car seat material.
Check manufacturer cleaning guidelines
Your owner's manual is your best resource before starting. Some manufacturers use proprietary treatments or specialty materials that require specific care – ignoring these guidelines can void warranties or cause permanent damage.
Gather the right tools
Your essential toolkit includes:
- BISSELL® PowerClean® FurGuard™ Cordless Stick Vacuum with the FurFinder™ Upholstery Tool, built-in hand vac and crevice tool, and the 2-in-1 Dusting Brush/Crevice Tool
- PET PRO OXY Stain Destroyer for targeted spot treatment
- Little Green® Cordless Portable Carpet Cleaner with Little Green™ OXY Spot & Stain Super Concentrate for deep cleaning fabric seats
- Clean microfiber cloths for blotting, wiping, and drying
- A dedicated leather cleaner and conditioner (for leather seats)
Remove loose debris first
Always remove loose debris from car seats before applying any product – wet or dry. Crumbs, pet hair, and dirt should come out first. Skipping this step can turn dry messes into muddy problems that are harder to clean.
Method 1: Vacuum car seats to remove dirt and crumbs
Materials needed
- BISSELL® PowerClean® FurGuard™ Cordless Stick Vacuum
- FurFinder™ Upholstery Tool
- 2-in-1 Dusting Brush/Crevice Tool
- Built-in hand vac and crevice tools
Step 1: Remove items blocking your workspace
Clear out any items, remove seat covers or cushions, and reposition seats as needed to access the full surface area.
Step 2: Vacuum flat surfaces first
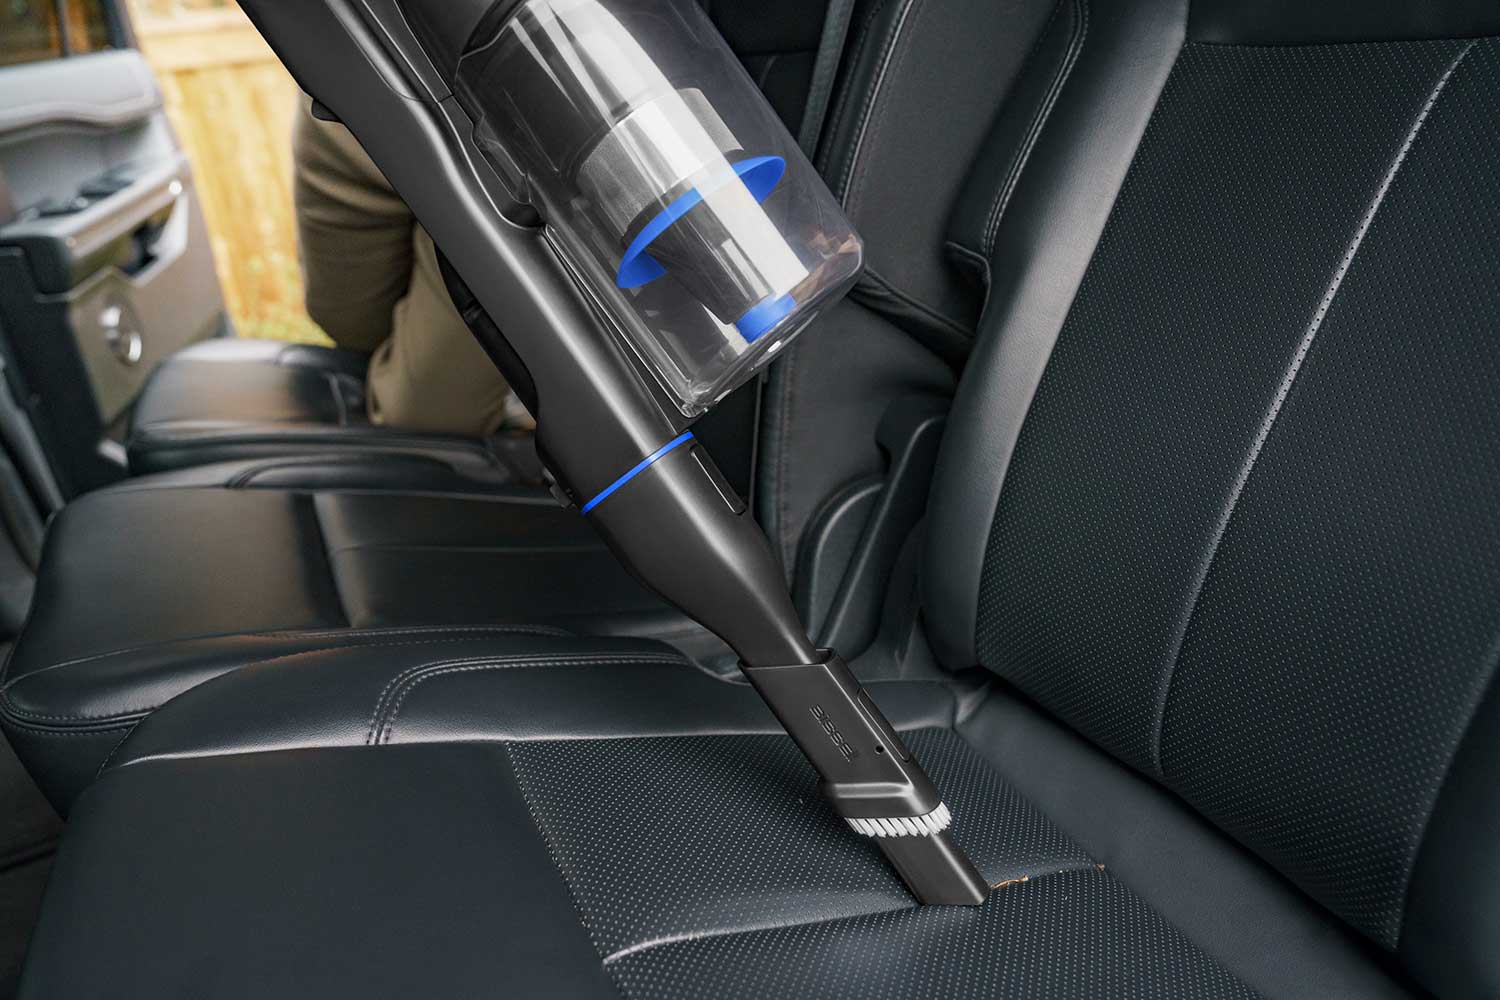
Detach the hand vac from the PowerClean® FurGuard™ and attach the FurFinder™ Upholstery Tool. Work in slow, overlapping strokes across the back of the seat then move down to the flat seat surface. Recline the seat back to access more of the seat surface. The FurFinder™ tool is specifically designed to lift embedded pet hair without damaging upholstery fabric.
Step 3: Work crevices and corners
Use the hand vac to work along seat seams, between the cushion and backrest, around headrests, and along stitched edges – this is where crumbs, human hair, and pet hair collect and are most often missed.
Pro tip: If the car seats don’t need heavy-duty suction, use the medium setting and you’ll get up to 20 minutes of runtime. Having everything cleared out from the car seats ahead of time will help you maximize battery life.
Method 1: Spot treat stains when they happen
Materials needed
- A bottle of PET PRO OXY Stain Destroyer
- Clean microfiber cloths
Step 1: Blot the area if the stain is fresh
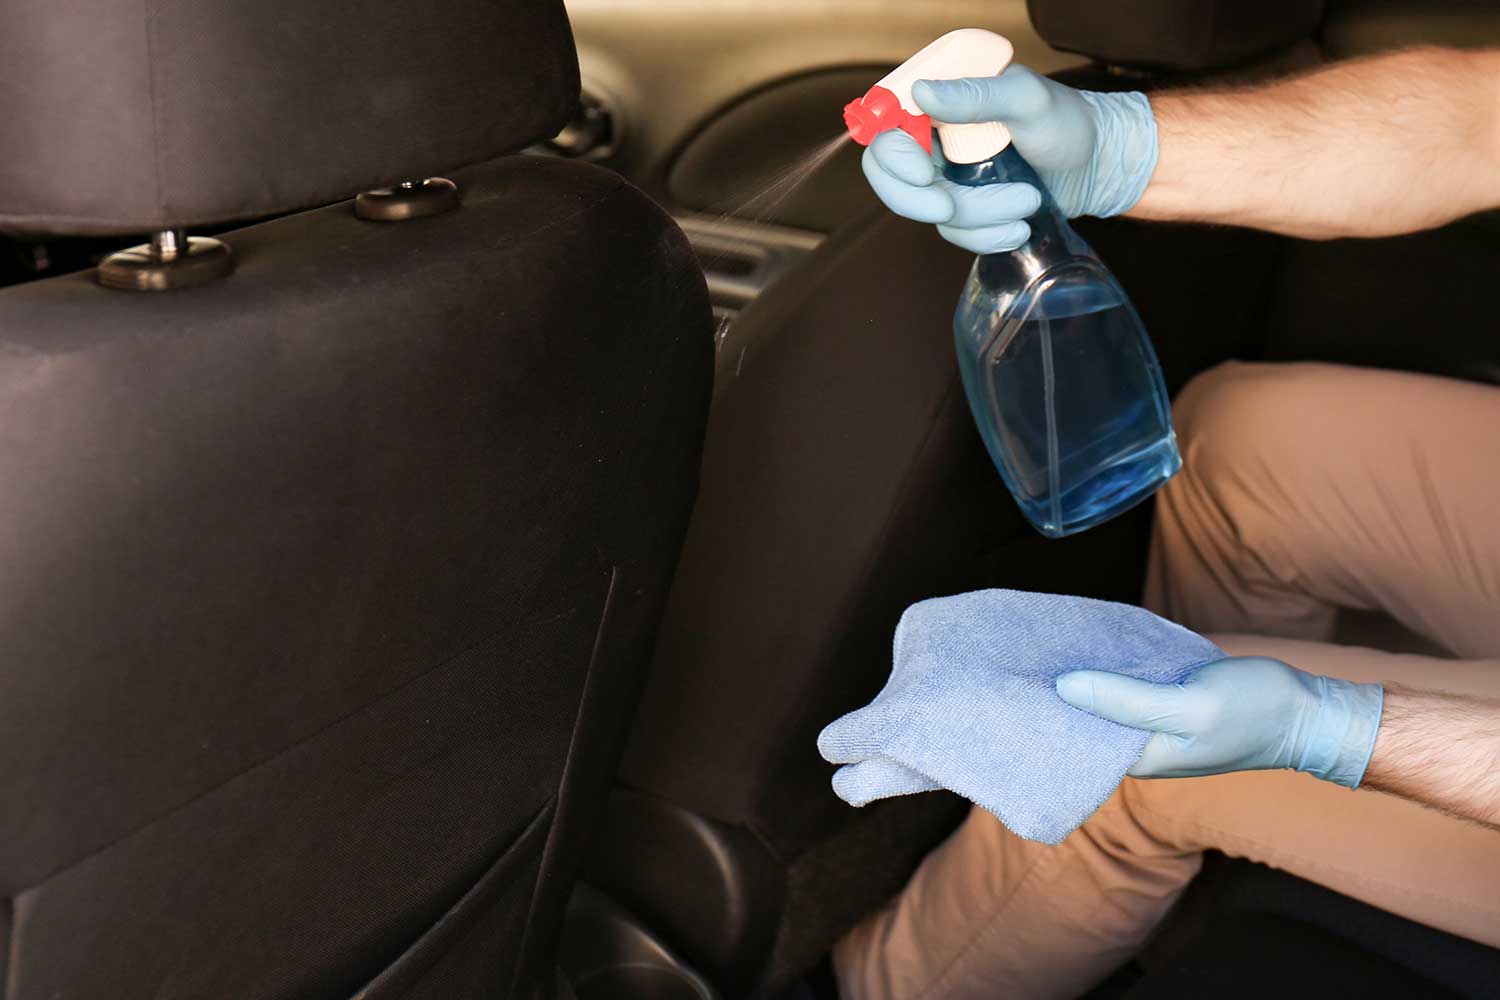
Blot the stain – don't rub – with a clean, dry microfiber cloth to absorb as much liquid as possible. Rubbing spreads the stain and pushes it deeper into the car seat fibers.
Step 2: Test a hidden area
Apply a small amount of formula to an inconspicuous area of the seat, like the underside. Wait a few minutes and check for any discoloration. If it looks unchanged, you're good to go.
Step 3: Apply the formula
Squeeze PET PRO OXY Stain Destroyer directly onto the stained area, saturating it slightly without oversaturating the surrounding fabric.
Step 4: Let it sit
Allow the formula to dwell a few minutes, giving the active ingredients time to break down the stain. Put on a favorite song and relax while you wait it out.
Step 5: Scrub and let dry
Using the brush on the formula bottle, scrub the stained area from the outside of the stain inward to prevent spreading while working the cleaning solution deep into the fabric and padding. Apply more formula as needed to fully lift the stain. Allow the seat to air dry completely.
If a stain doesn't fully respond to spot treatment, follow up with a deep clean using the BISSELL Little Green® Cordless Portable Carpet Cleaner.
Pro tip: To help remove stains as they happen, keep a bottle of PET PRO OXY Stain Destroyer cleaning formula in the glove compartment or the trunk.
Method 2: Deep clean fabric car seats with a portable carpet cleaner
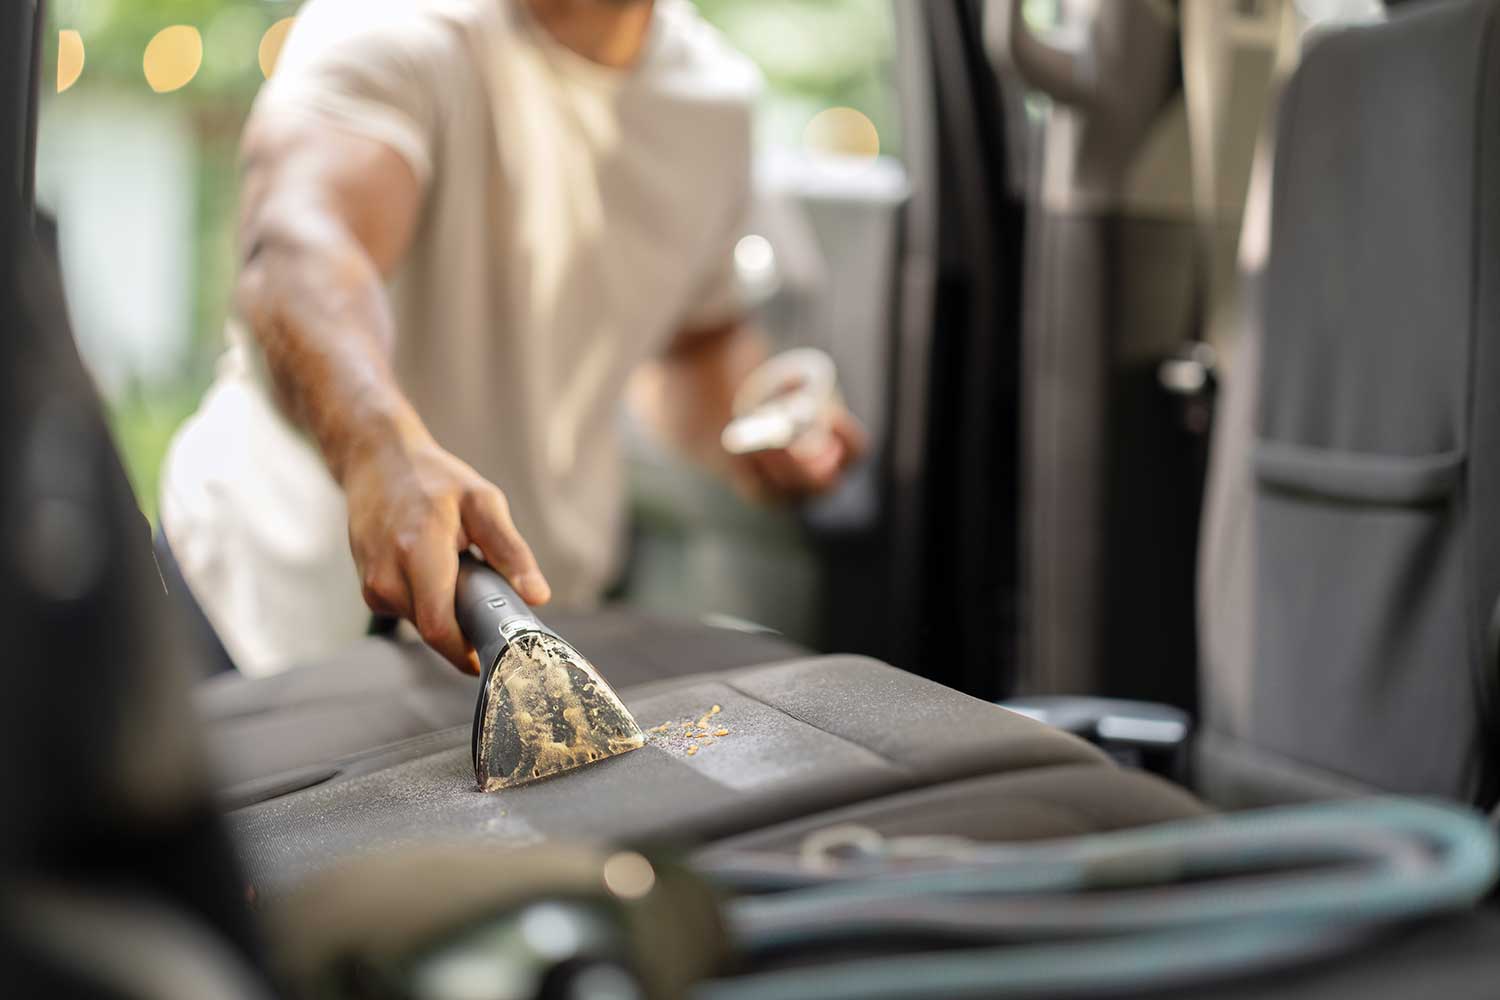
Step 1: Prepare the cleaner with solution
Lift the clean water tank to remove and unscrew cap. Fill the water tank with warm water to fill line and add Little Green™ OXY Spot & Stain Super Concentrate to achieve the correct ratio. A small area uses 2 oz of concentrate and a large area uses 4 oz. Screw the cap back on and align tank with the groove on the machine, sliding down until it clicks.
Step 2: Clean the affected area
Attach the 4" Tough Stain Tool to the machine's hose and test on an inconspicuous area first.
Then, press the trigger to evenly dispense cleaning solution, using the brush to gently agitate the fabric, while making firm, slow passes to extract the dirty solution into the dirty water tank.
Pro tip: Don’t forget to clean the head rests, which tend to collect hair oils and styling products.
Step 3: Extract excess moisture
Make additional passes without pressing the trigger to pull as much residual moisture from the fabric as possible. The more you remove now, the faster your seats will dry.
Step 4: Repeat if necessary
For heavily soiled seats, repeat the spray-scrub-extract process in slightly overlapping sections.
Step 5: Allow to dry overnight
Check the weather and if it’s not going to rain, leave the car windows cracked to promote airflow and allow fabric seats to dry overnight before using the vehicle.
How to clean leather car seats safely
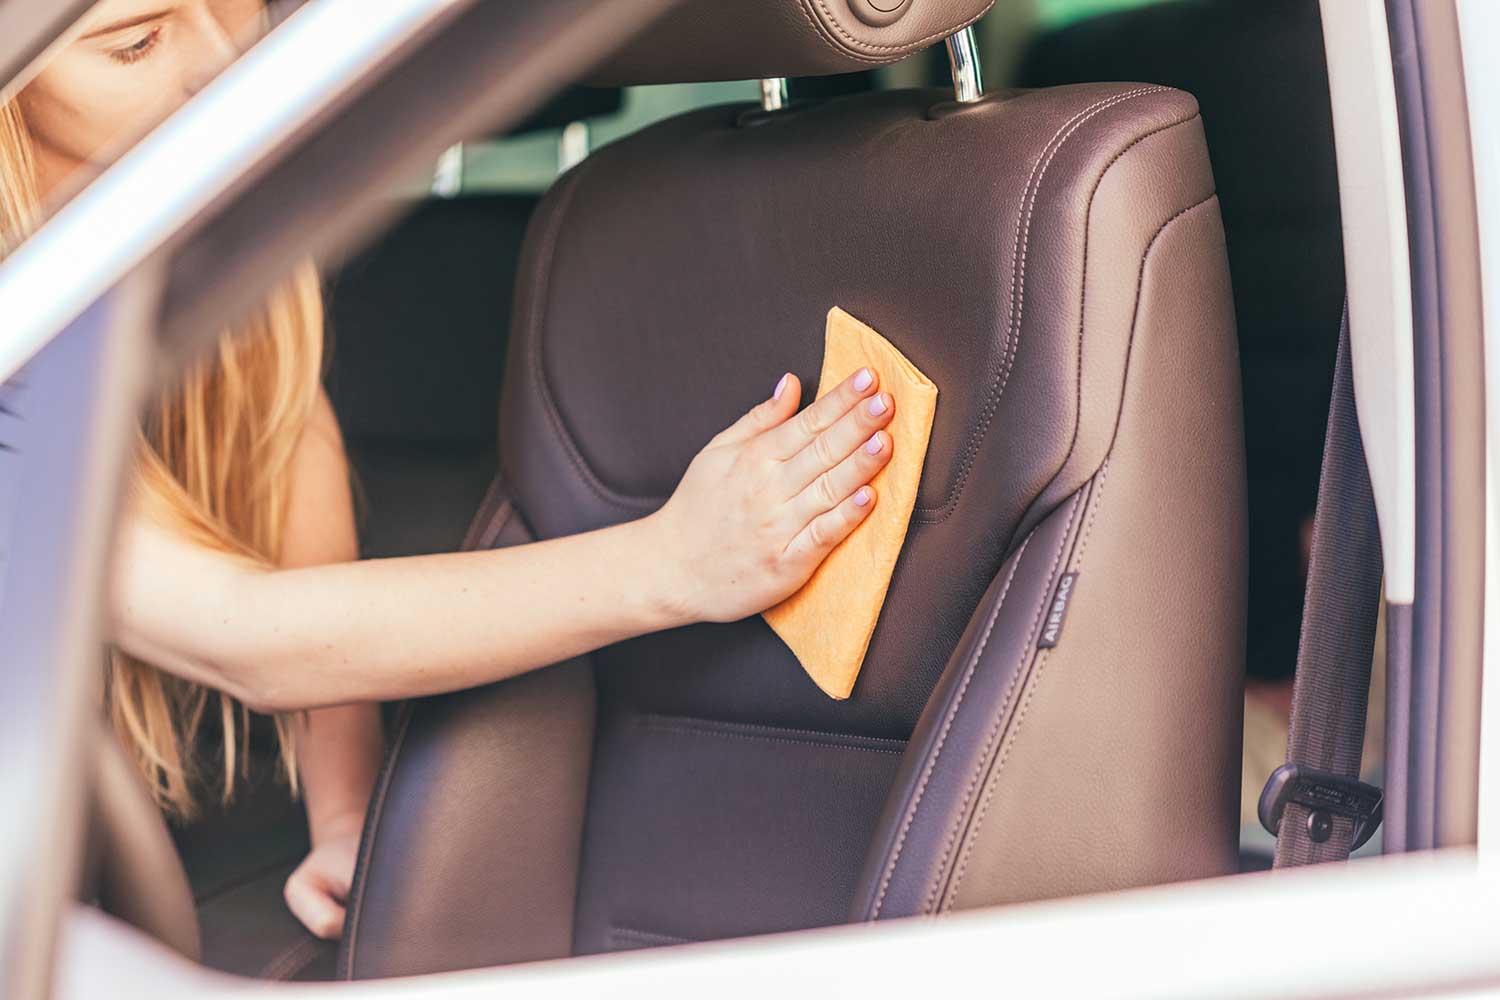
Remember, leather requires a gentler touch than fabric car seats. Harsh chemicals, excess moisture, and abrasive scrubbing can crack, discolor, or strip protective coatings – damage that's expensive to repair.
Materials needed
- Soft microfiber cloths (multiple)
- pH-balanced leather cleaner
- Leather conditioner (if recommended by your vehicle manufacturer)
When vacuuming, use a light touch with the soft crevice brush to keep from damaging seats. Or, brush dust and debris off the seats using a clean microfiber cloth before cleaning leather car seats with the leather cleaning solution. Check to see whether the products you use work on regular leather or vinyl leather or both.
Step 1: Test cleaner on a hidden area of the leather car seat
After you have vacuumed or wiped the seats free of loose debris, apply a small amount of leather cleaner to an inconspicuous area and wait several minutes to ensure it doesn’t stain or damage the leather before cleaning the car seats. Do the same with the leather conditioning solution to a different area if you plan to use that after the leather cleaner is dry.
Step 2: Clean leather gently
Apply leather cleaner to a soft microfiber cloth – never directly onto the leather – and use a back- and-forth wiping motion. Use light, even pressure and work in sections from the seat back to the front underside of the cushion.
Step 3: Wipe residue and allow to dry
Wipe away any remaining residue with a different clean, dry cloth and allow the leather to air dry fully before conditioning.
Step 4: Condition leather if recommended
Apply a leather conditioner per product instructions if your vehicle manufacturer recommends it. Conditioning helps keep leather supple and prevents cracking over time. Follow instructions on how long to let the conditioner sit on your leather car seats and when if should be wiped off after seeping into the material. Some leather cleaning solutions are a 2-in-1 formula, so read labels carefully.
Removing odors from car seats
Try to identify where the smell is coming from on the car seat. Pet accidents, food spills, mildew, pet sweat, and smoke each have different sources – pinpointing the area helps you focus cleaning efforts where they'll have the most impact.
Deep clean to remove lingering smells
For odors on fabric seats – like human or pet sweat, food, or smoke – deep cleaning with Little Green™ OXY Spot & Stain Super Concentrate with the Little Green® Cordless deep cleaner eliminates odor-causing compounds rather than masking them. For persistent pet accident odors, you might need to go over the car seat a few times to eliminate the scent for good.
Allow proper drying and ventilation
Open all car doors and windows during and after cleaning to increase air circulation. Try to avoid closing up the car until seats are completely dry.
Pro tip: Aim to start the deep clean process with the driver’s seat so it dries first and then go to the next most commonly-used seat in the car so those will be dry soon.
Common mistakes to avoid when cleaning car seats and upholstery
Not removing loose debris with a vacuum before wet cleaning. You risk turning dry dirt into muddy residue that’s harder to remove.
Using too much water or cleaning solution. This could lead to wet pants (ha!) or significantly extend drying time. Plan to deep clean on a sunny day.
Rubbing instead of blotting at a stain. This spreads stains further into the material. Always blot from the outside in.
Using the wrong product for the seat material. This can cause irreversible damage to fabric car seats and leather seats. Always test in a hidden area first.
Skipping the drying step. A closed up wet car could cause mildew, further contributing to future odor problems even after a thorough clean.
How often should you clean car seats?
Daily commuters with pets or children should vacuum fabric seats bi-weekly and deep clean following the car seat cleaning steps above every one to two months. For everyone else, a monthly vacuum and a seasonal deep clean is a reasonable baseline.
Leather seats benefit from a gentle vacuum or wipe-down monthly and conditioning every three to six months. Always spot treat stains as quickly as possible – prompt action is the single biggest factor in stain removal success.
Tips to keep car seats cleaner longer
Use seat covers or protective liners in rear seats where kids and pets ride most often. Keep a small supply of PET PRO OXY Stain Destroyer and microfiber cloths in your car for immediate spill response. Tell kids to let you know if they spill something – promise they won’t get in trouble and you’ll try not to make that annoyed face.
For pet owners, brush or remove pet hair after every trip before it embeds deeper into the fabric. Build vacuuming into your regular car maintenance routine – a quick pass every few weeks, depending on how often your pets ride in the car, prevents buildup from reaching deep-clean territory.
Next steps
To keep car seats clean and maintained, start with a thorough vacuum using the BISSELL® PowerClean® FurGuard™ Cordless Stick Vacuum, address visible spots with PET PRO OXY Stain Destroyer, and plan a full deep clean with the Little Green® Cordless Portable Carpet Cleaner and Little Green™ OXY Spot & Stain Super Concentrate the next time you have an hour to spare and the weather looks clear so the car seats can dry.
FAQs
What is the safest way to clean car seats?
Identify your seat material before choosing a method, test any product on a hidden area first, and use the least amount of moisture necessary. For fabric upholstery, PET PRO OXY Stain Destroyer is gentle and effective for small spots and stains. For leather, use a pH-balanced leather cleaner and a soft microfiber cloth.
Does the cleaning method change for cloth vs. leather car seats?
Yes, significantly. Fabric seats can handle more moisture and respond well to deep cleaning with a portable carpet cleaner. Leather requires minimal moisture, a dedicated leather cleaner, and regular conditioning to maintain its soft, supple feel and appearance.
Can you clean car seats without removing them from the vehicle?
Most household cleaners aren't formulated for automotive upholstery and can cause discoloration or damage – especially on leather. Products designed specifically for upholstery, like the PET PRO OXY Stain Destroyer, which comes with a brush built into the formula bottle, , can be used without a deep cleaning machine. For leather car seats, look for a pH-balanced leather cleaner and leather conditioner.
Should car seats be vacuumed before deep cleaning?
Yes – always vacuum car seats as part of cleaning. Vacuuming removes loose debris that would otherwise be harder to remove when wet. Using the BISSELL® PowerClean® FurGuard™ Cordless Stick Vacuum with the FurFinder™ Upholstery Tool before any wet cleaning ensures the best possible results.
This is a carousel. Use the Next and Previous buttons to navigate between slides, or use the scrollbar to scroll through content.